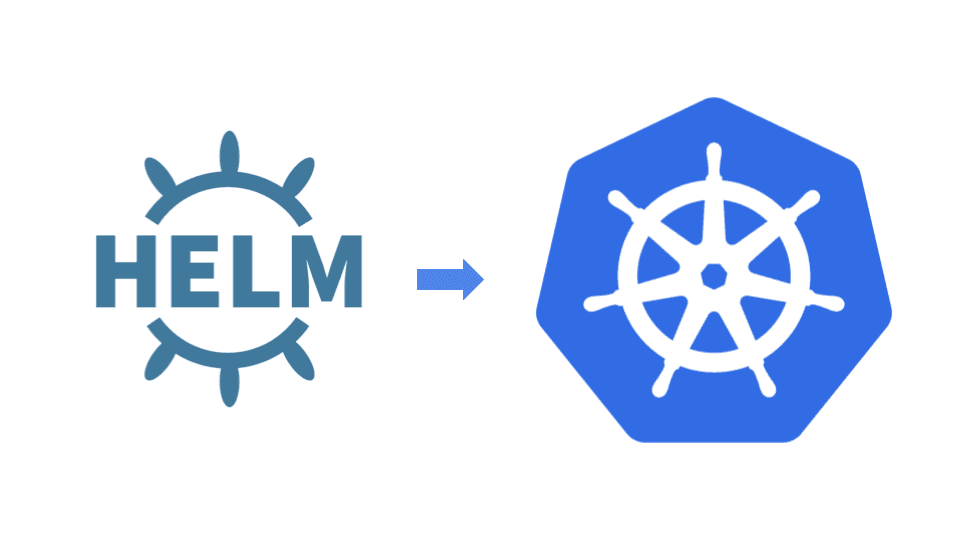
Helm - Package manager for Kubernetes
I am a developer trying to make a mark in the world of tech.
I have been learning and working with the helm for a month now. So, this blog is documenting my understanding of Helm. This is the first part to be a series of blogs on the Helm.
In this blog, we'll go through,
- About Helm
- Its uses
- configuring helm chart
What is helm?
According to official website
Helm helps you manage Kubernetes applications — Helm Charts help you define, install, and upgrade even the most complex Kubernetes application.
In simpler terms, Helm is a package manager for Kubernetes. It is the Kubernetes equivalent of apt for Linux and homebrew for mac. Package managers automate the process of installing, configuring, upgrading, and removing computer programs. On the same lines, helm helps deploy a complex application by bundling necessary resources into Charts, which contains all information to run an application on a cluster.
Components of the helm
Majorly, helm has two elements to it:
- The Client (CLI), which lives in our local system.
- The server(Tiller), which runs inside a Kubernetes cluster to execute what's instructed.
So, basically, Helm(A Command-line interface) installs charts into Kubernetes, creating a release for each installation. To understand it better, we need to understand few other concepts first,
Charts: An application package that contains templates for a set of resources that are necessary to run the application. A template uses variables that are substituted with values when the manifest is created. The chart includes a values file that describes how to configure the resources.
Repository: Storage of helm charts.
- Release: An instance of a chart that is running in a Kubernetes cluster. You can install the same chart multiple times to create many releases.
Why use Helm?
A deployed application on Kubernetes has many YAML files that govern the deployment and functioning of deployed applications in a cluster. Some of these files are important, some of them may be repeated multiple times for different applications. Managing and working with so many files are quite cumbersome. Here is where the helm comes to our rescue.
Helm makes deployments easier and repeatable and tackles many kinds of redundancies and complexity. It boosts productivity by automating the process of managing multiple YAML files and simplifies deployments by allowing to override values in values.yaml.
Helm Chart
Helm follows a pre-defined structure for the charts. It is created by running:
helm create <YOUR-CHART-NAME>
After successfully creating your chart, you'll be able to see a directory structure
YOUR-CHART-NAME/
 |
 |- .helmignore
 |
 |- Chart.yaml
 |
 |- values.yaml
 |
 |- charts/
 |
 |- templates/
- .helmignore: This holds all the files to ignore when packaging the chart. Similar to .gitignore, if you are familiar with git.
- Chart.yaml: This is where you put all the information about the chart you are packaging. So, for example, your version number, etc. This is where you will put all those details.
- values.yaml: This is where you define all the values you want to inject into your templates.
- Charts: This is where you store other charts that your chart depends on. You might be calling another chart that your chart needs to function properly.
- Templates: This folder is where you put the actual manifest you are deploying with the chart. For example, you might be deploying an Nginx deployment that needs a service, config map and secrets. You will have your deployment.yaml, service.yaml, config.yaml and secrets.yaml all in the template dir. They will all get their values from values.yaml from above.
Working with Helm and Configuring Helm Charts
Let's jump into the actual working and configuration of helm charts. First of all, we need to install helm in our computers and configure it according to our use cases. There are 3 versions of helm available (v1, v2 and v3), you can install any one of them according to your requirements. For more instructions, have a look at official getting started page.
Getting started with helm charts is as simple as installing some charts from the stable repository, which is available on GitHub. The Helm stable repository is a collection of curated applications ready to be deployed into your cluster. We can either write our own charts or can use these already created charts.
Next up, we'll see how we can write our own helm charts for our applications. Meanwhile, please go through the original guide to get an idea.
Summary
Helm helps us reduce a lot of the complexity out of deploying software and your own applications to Kubernetes. It can be installed in a matter of minutes and you can be deploying charts from the stable repository in no time. Writing your own charts is also a straightforward process, though does require an understanding of Kubernetes objects. Helm can empower developers to work more efficiently.